

The CF Bedford Rebuild Begins
Part 13: The side skirts
Well the side skirts have been a decision and a half.
Originally I planned to have a rounded style then was shown a picture of the van in England, they were similar in shape so decided not to use them.
So then I decided to go clean and not use any but because I lowered the foot wells (to take the batteries) they stuck out the sills a fraction so really needed some type of side skirt on there.
I went through my collection of photos and images found on the net and the two most common styles are running boards or nothing, so using my old van as inspiration I decided on a similar concept.
I want the van low but at the same time I don't want to have to worry about going up and down driveways or speed humps etc.
The average car is 180-200 millimetres off the ground (measured to bottom of sill), so I am setting the bottom of the side skirts at 180mm. In some ways it's good as am still running standard height suspension front and back so if I ever lower it I will still have ground clearance. The side skirts while looking big, only come down 40mm from original sills.

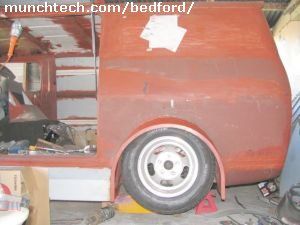
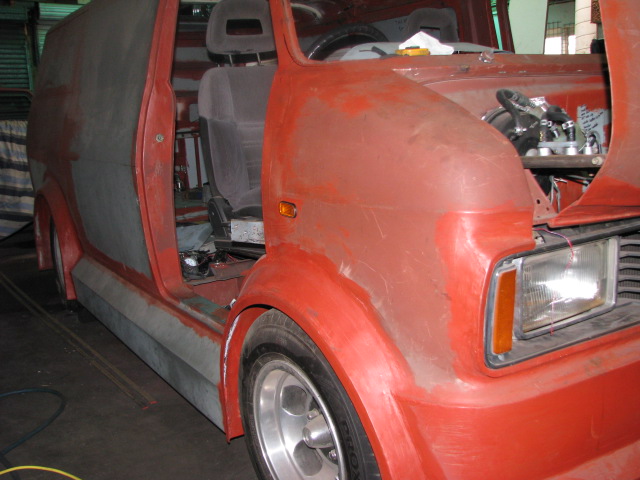
Above are with and without the side skirts, quite a difference, and will look different again once the flares are on. Still haven't got the door skin on, am being messed around with the window channel rubbers.
Here is another view with the side skirts, from the back.
The front flare will flow into the side skirt where as the back flare will step out slightly from it.
If the engine wasn't mid mounted I'd bring the exhaust out the back of the skirts, but how it is now would be to short, to loud, to many tickets.
The side skirts will be hollow and one piece, it wont be strong enough to stand on or jack from but from experience racing stock cars it is easier to make them softish so if they ever get damaged would be easier to cut them off and replace them. If they were made solid the impact would no doubt effect other parts of the van.
The flares
Working out the flares has been a bit of a mission, not only the gapping (clearance between flare lip and tyre) but also the wheel tubs, as these are apart of the flare.
I decided on a 30 millimetre gap between tyre and flare lip.
Reason for this is the front wheels need to turn and if there was no gap the tyres would rub at every turn.
I need to work out a few things, like ride height, suspensions lowest point (on bump stops) so as if the van ever does bottom out it wont rip the side of the van out. Also the low volume cert. says there can be no tyre outside the vehicle so the flares most go over not only the tyre thread but also the sidewall, which in some ways works out well.
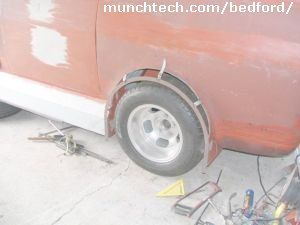
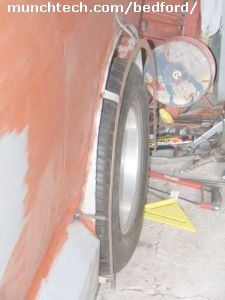
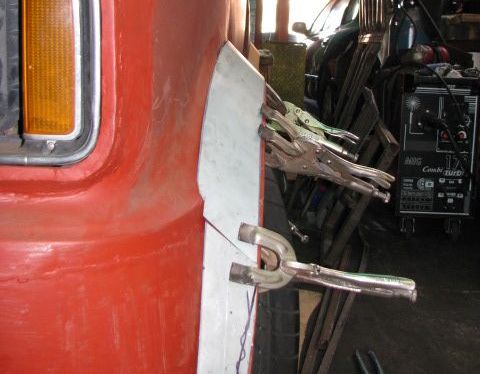
The frame work is sort of done here, with the 30mm gap the flare lip will go over the tyre if it bottoms out. The way I worked it out was remove the jag shocks/springs and rest the arms on the bump stop mounts (without the rubber stops), adding 30mm for the wheel tub height and with the van sitting like this I will make the flare around it, while trying to keep a decent shape.
Box flares would be so much easier but they are so ugly.
The idea of the skirts being skinnier than the flares is for a flick or run off in case I should scrap the side it should slide up and along. Might even be aerodynamic lol.
The wheel tub will join to be the inner flare (what no one sees) and the outer flare being what is seen. I might have to move the van soon so can't drop the suspension yet for one final clearance check.
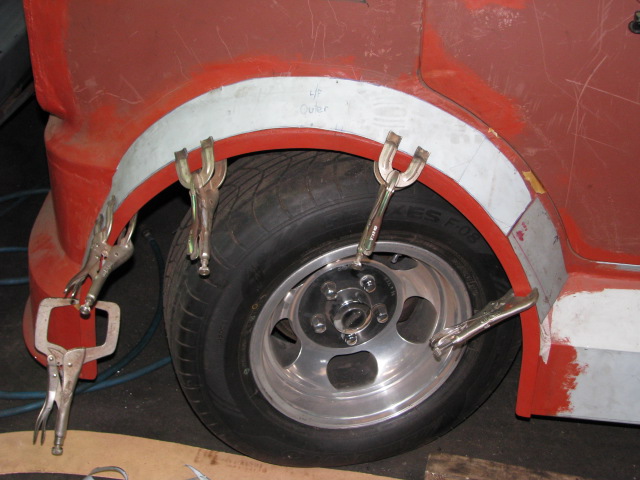
Here is the inner flare or wheel tub welded to the outer arch. The flare will go off this arch to the side of the van.
This is the wheel bottomed out (with bump stop removed), shows I'll still have clearance if the van ever bottomed out this low .
The flare template could be made from anything, just curve it around where you want it without creasing the cardboard, or thin ply or whatever. Then flattern it out onto the panel steel and bam, you have a flare. Repeat 3 more times after trying the first one. For the opposite side you should be able to just turn the template inside out. Keyword here being should, sometimes (especially on friday afternoon) it wont even be close. Luckily I did these on a Wednesday - muhahaha